
Drinkware & Everyday Carry
How to Clean Water Bottle Lids and Seals Without Disassembly
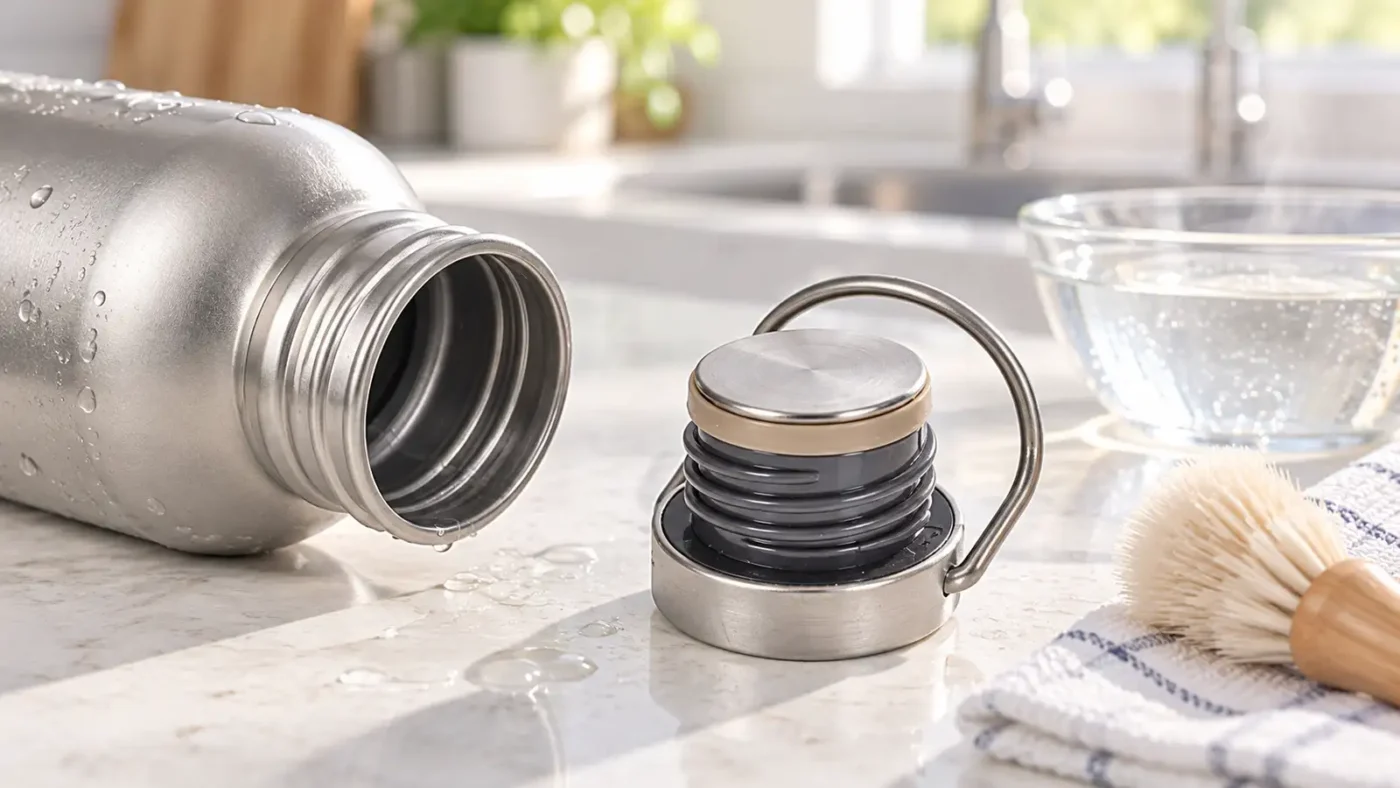
For routine bottle-cap cleaning, use warm water, mild dish soap, and a soft sponge or brush while keeping the sealing component in place. Clean the accessible surfaces and grooves, rinse thoroughly, and allow the cap to dry before storage.
Knowing how to clean water bottle lids starts with understanding the cap’s construction. Some designs have removable parts; others should be cleaned without taking the sealing assembly apart.
This guide focuses on cleaning with the seal left in place, including the stopper-style cap used on TiRoam’s Pure Titanium Bottle for Everyday Use.
Table of Contents
Check the Cap Before You Start
Do not force out a seal or insert that is difficult to remove. For the TiRoam cap discussed here, leave the sealing component in place during routine cleaning.
Look at the cap’s exposed surfaces, including the area that enters the bottle opening and any circular grooves around it. Multiple visible ridges do not establish that each section is a separate removable ring.
Check the matching threads and rim inside the bottle neck too. Cleaning only the cap can leave residue on the surfaces it closes against.
If you use a different bottle, follow that model’s instructions. Do not transfer another manufacturer’s disassembly method to your cap.
If you are choosing a different bottle, use our everyday water bottle selection guide to compare the opening and cap design.
What You Need for Routine Cleaning
Choose tools that reach the exposed grooves without scraping or stretching the seal.
A simple setup includes:
- Warm water.
- Mild dish soap.
- A soft sponge or cloth.
- A small, soft-bristled brush.
- A clean drying rack or surface.
Use a brush that fits comfortably into the accessible grooves. Do not push a tool under the sealing component or use a knife, needle, or metal pick to lift it.
The bottle body’s material does not establish the heat or chemical resistance of every cap component. Check the exact product’s instructions before using a dishwasher, boiling water, or stronger cleaning treatment.
How to Clean Water Bottle Lids: 5 Simple Steps
1. Remove the Cap and Rinse Loose Residue
Unscrew the cap from the bottle, keeping its sealing assembly intact.
Rinse the accessible surfaces with warm water. Turn the cap so water reaches the exposed grooves rather than only the outer cover.
Rinse the bottle opening separately, paying attention to the rim and accessible threads.
2. Wash the Accessible Cap Surfaces
Use mild dish soap and a soft sponge or cloth to clean the exposed surfaces.
Wash the outer cover, the stopper portion, and the visible sealing surface. Work gently around the edges without pulling or peeling the sealing component.
A quick rinse may leave residue in recessed areas, so inspect those areas as you wash.
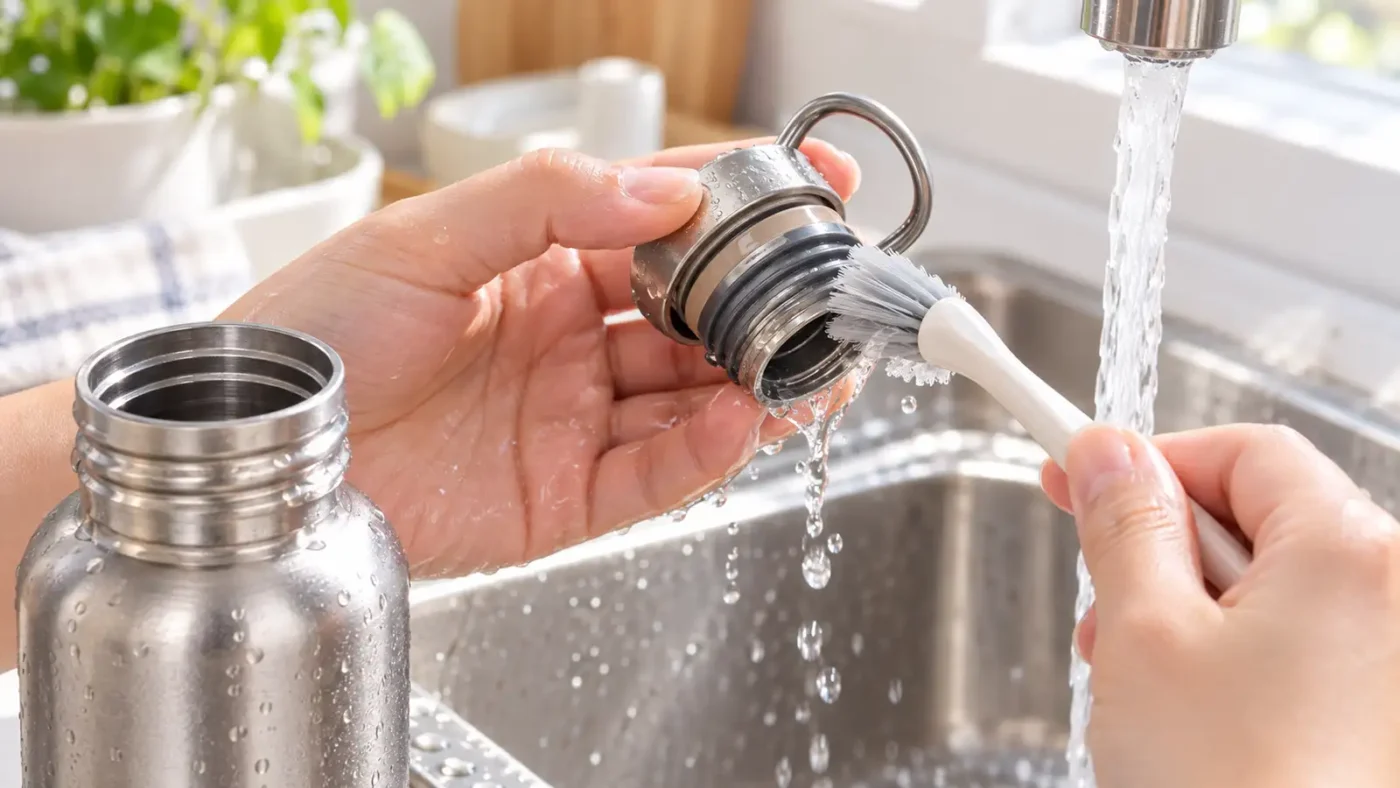
3. Brush the Grooves and Matching Bottle Threads
Use a small, soft-bristled brush where a sponge cannot comfortably reach.
Brush the accessible grooves with gentle movements. Do not force the bristles beneath the sealing component.
Clean the matching bottle-neck threads and rim too. These surfaces can hold residue even when the cap itself looks clean.
If visible residue remains, repeat gentle washing and rinsing. Increasing force or using a sharp tool does not solve a problem in an inaccessible area.
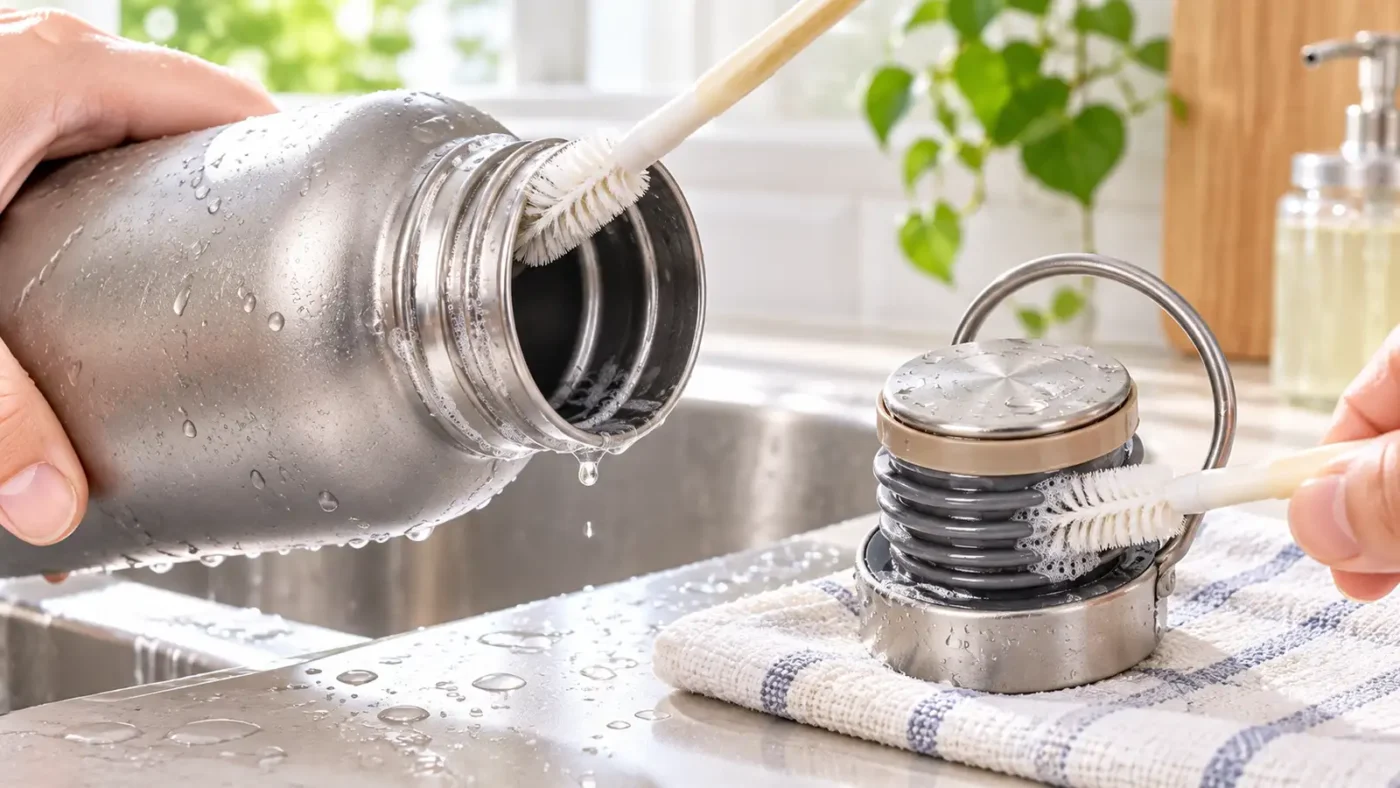
4. Rinse Thoroughly and Allow the Cap to Dry
Rinse away the soap, then position the cap so water can drain from its exposed grooves.
Turn the cap under running water and check the areas you brushed. If visible residue remains, wash that area again before drying.
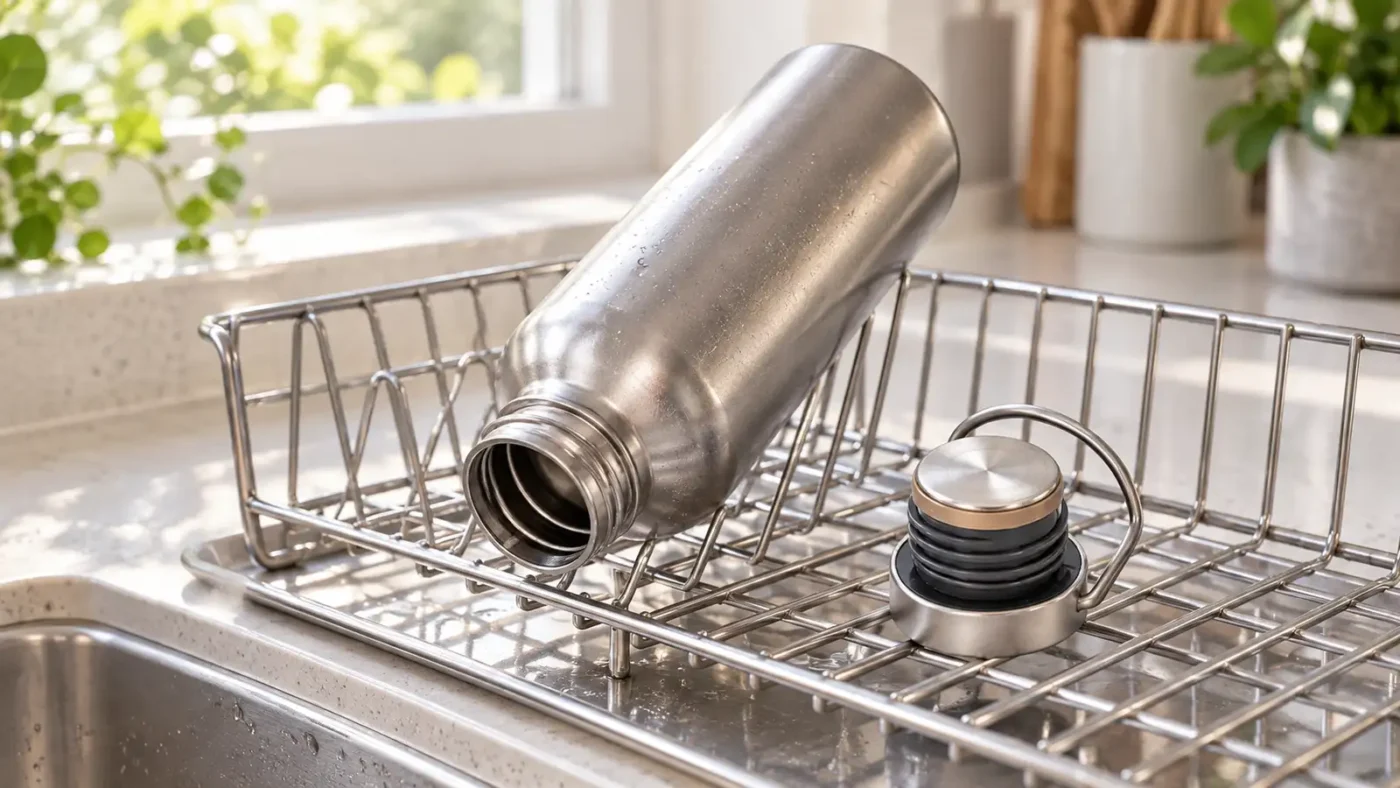
A clean cloth can dry accessible surfaces, while recessed areas may need additional air drying. Place the cap on a clean rack or surface with airflow around it.
Let the cap and bottle opening dry before storing the bottle closed. Do not use boiling water or direct heat as a drying shortcut unless the exact product’s instructions explicitly permit it.
5. Check the Fit Before Reuse
Inspect the visible sealing surface and confirm that the cap closes normally.
Look for a lifted edge, tear, or unfamiliar change in shape. There is no seal-removal or reassembly step in this routine.
Align the cap carefully when closing the bottle. If it binds or feels different, stop and check the accessible threads rather than forcing it tighter.
A normal fit check does not establish leakproof performance in every carrying position. Follow the product’s carrying instructions.
What If Cleaning Does Not Resolve the Problem?
Seek product-specific guidance when the problem involves an inaccessible area, damage, or an altered fit.
| What you notice | What to do next |
|---|---|
| Visible residue in an accessible groove | Repeat gentle washing with a suitable soft brush, then rinse thoroughly. |
| Residue appears trapped beneath the sealing component | Do not pry it out. Ask the manufacturer how the cap should be serviced. |
| Odor remains after washing and drying | Recheck the accessible cap surfaces and bottle neck. Seek guidance if the problem persists. |
| A tear, lifted edge, or deformed sealing component | Pause use and ask about repair or replacement. |
| The cap binds or leaks unexpectedly | Check alignment and accessible threads. Do not try to solve the problem by overtightening. |
Do not glue a damaged seal or substitute a similar-looking ring without confirmed compatibility. The correct dimensions and design matter to how the cap closes.
Keep Cap Cleaning Part of the Bottle Routine
Clean the cap alongside the bottle body rather than treating it as an occasional extra task.
Clean the cap regularly and wash away beverage residue promptly. Allow both the cap and bottle to dry before closed storage.
For bottle-body washing and broader titanium care, read How to Clean Pure Titanium Kitchenware.
If you are comparing capacities, see Water Bottle Size Guide: 500 ml vs 750 ml for Work and Day Trips.
For the bottle discussed in this guide, check the current specifications for the TiRoam Pure Titanium Bottle for Everyday Use.